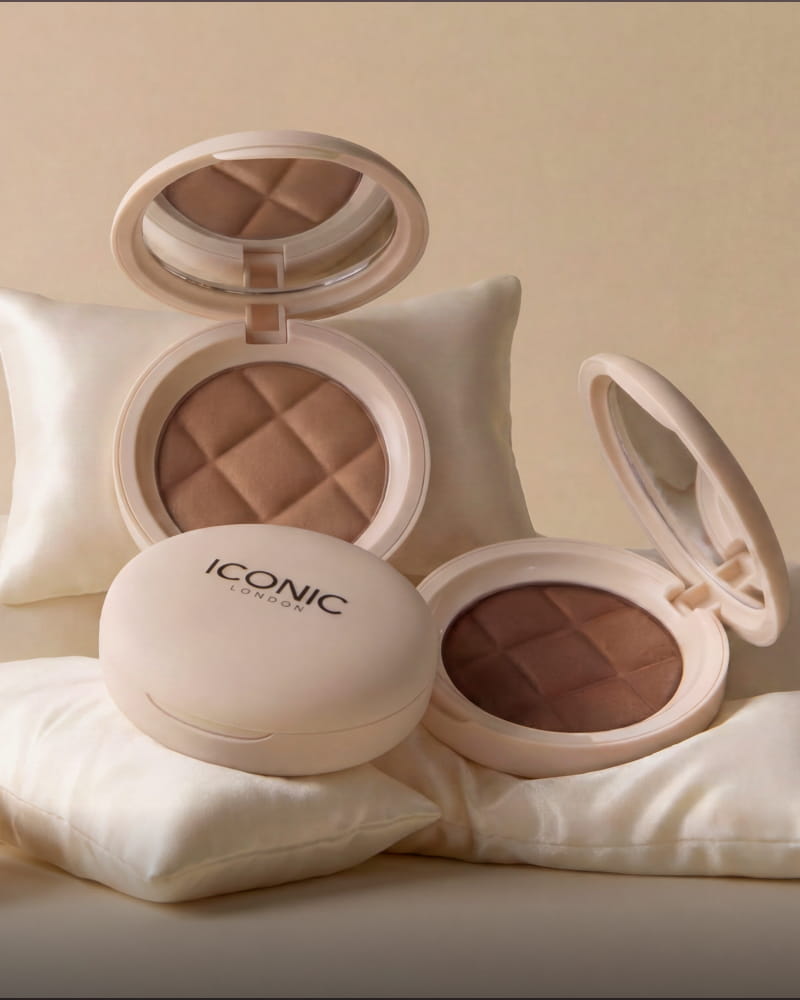
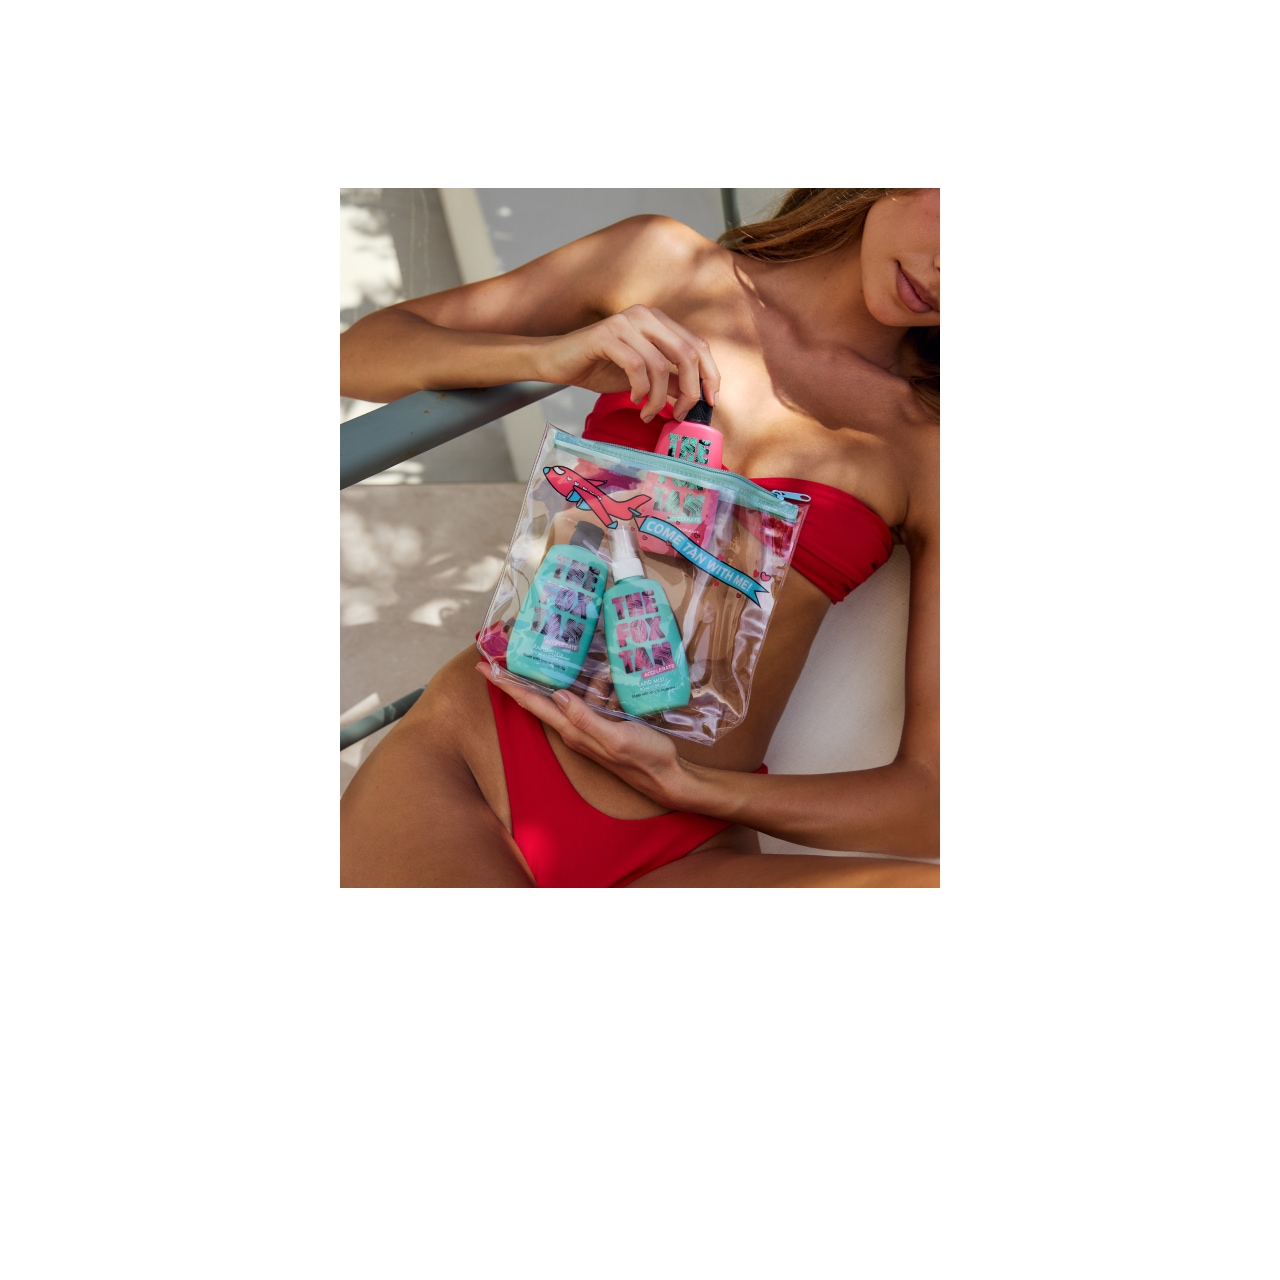
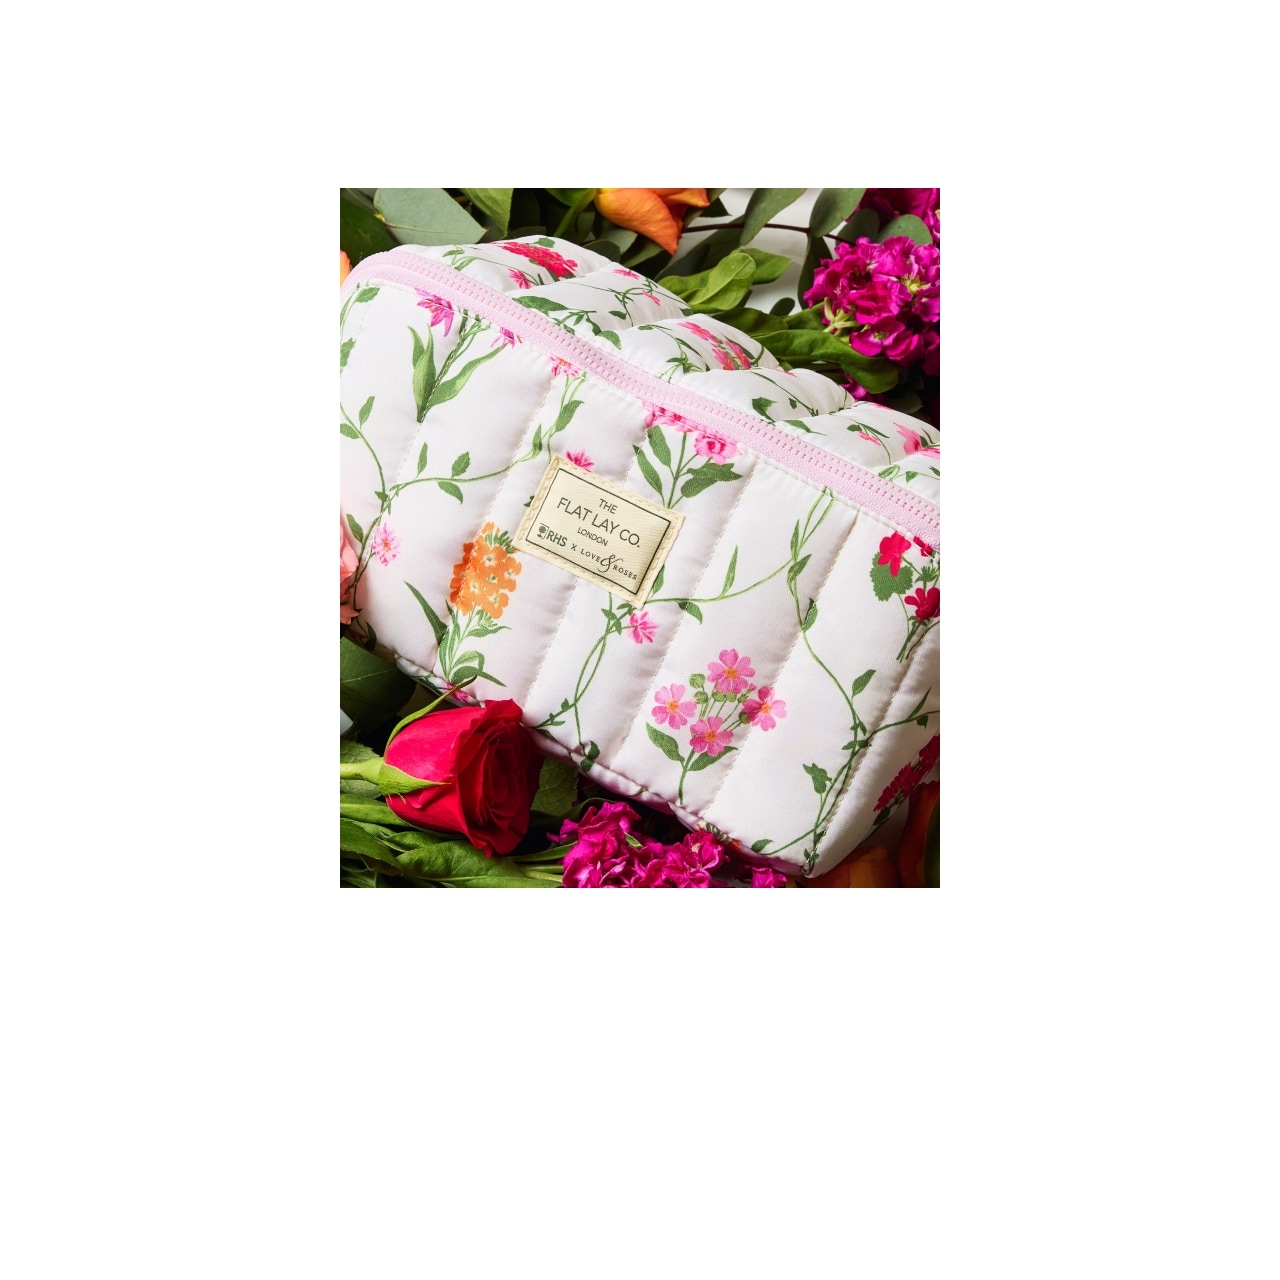
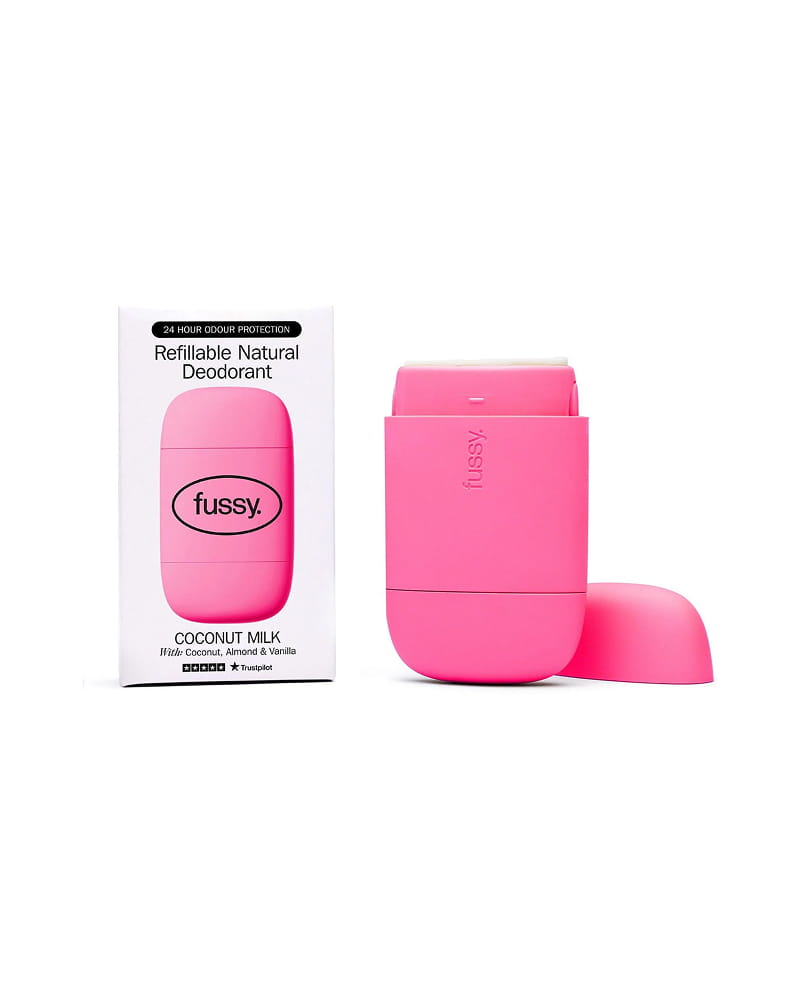
Worth Over £85
RRP £25

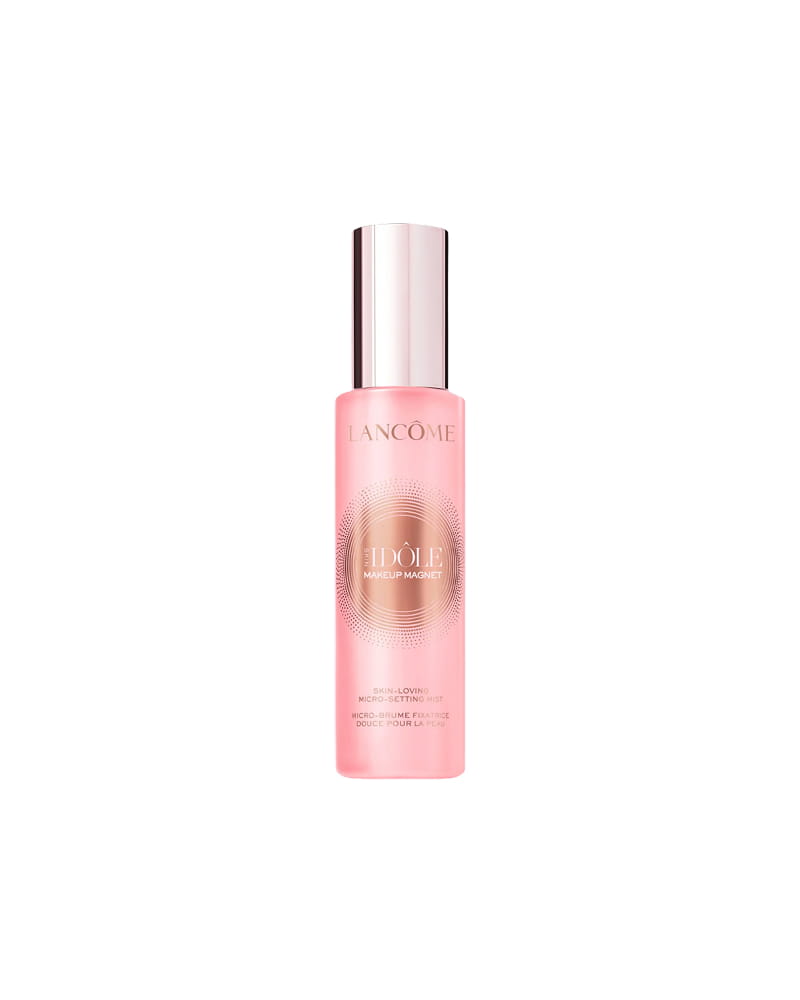
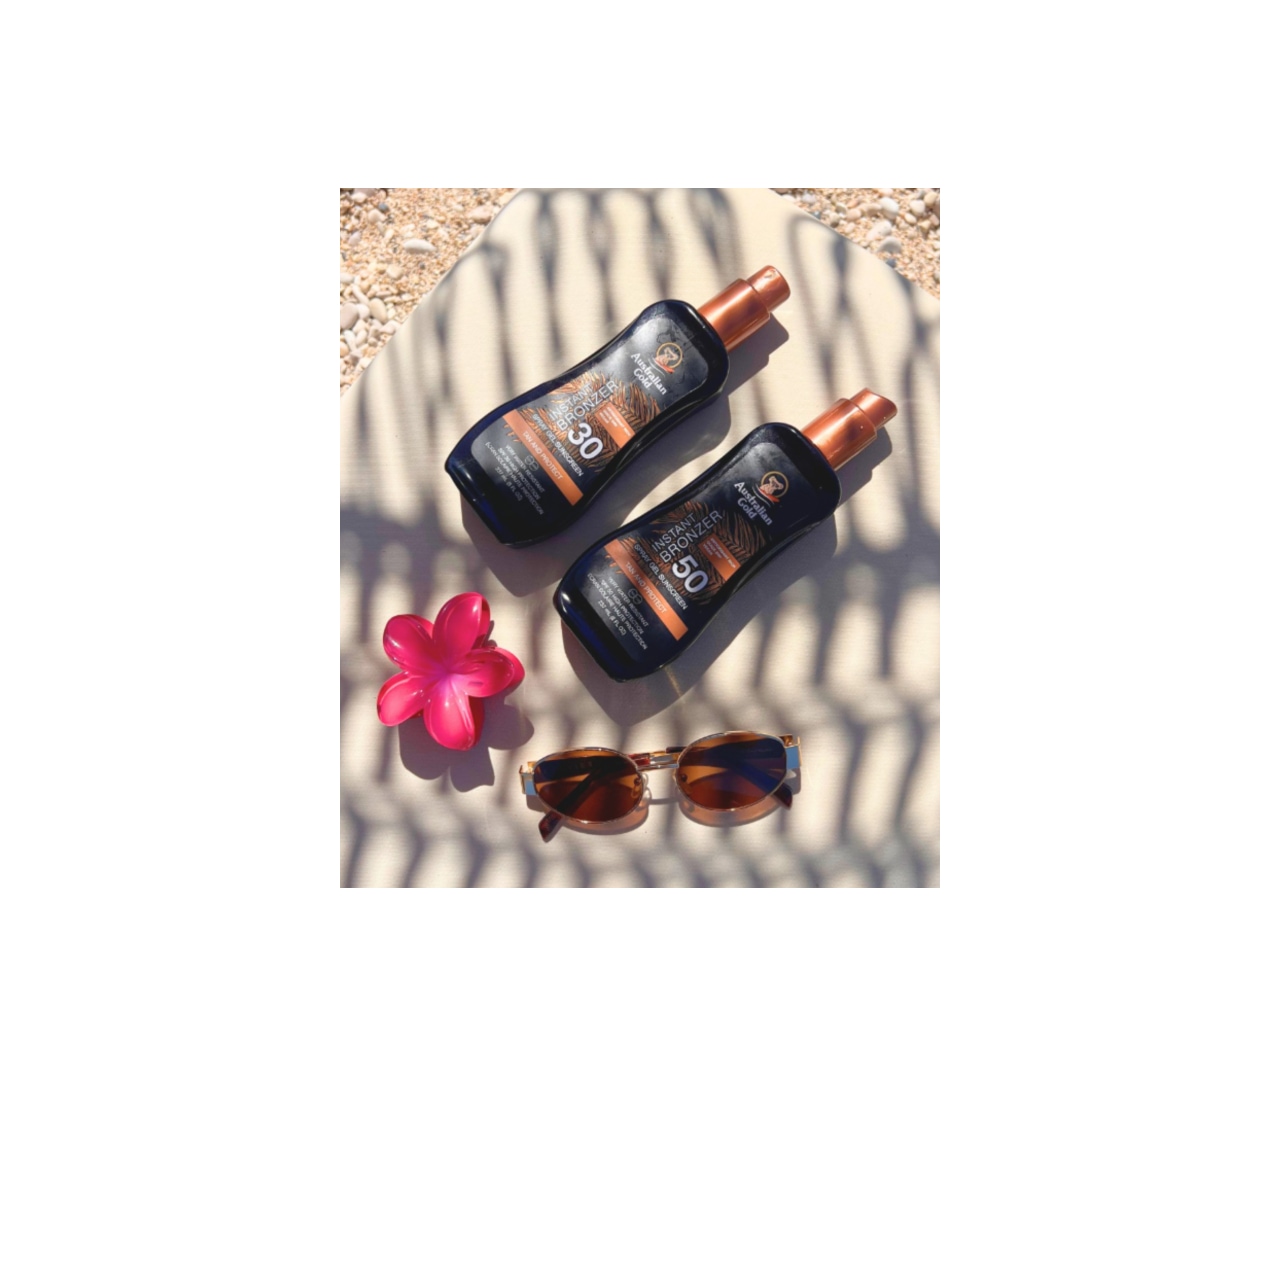
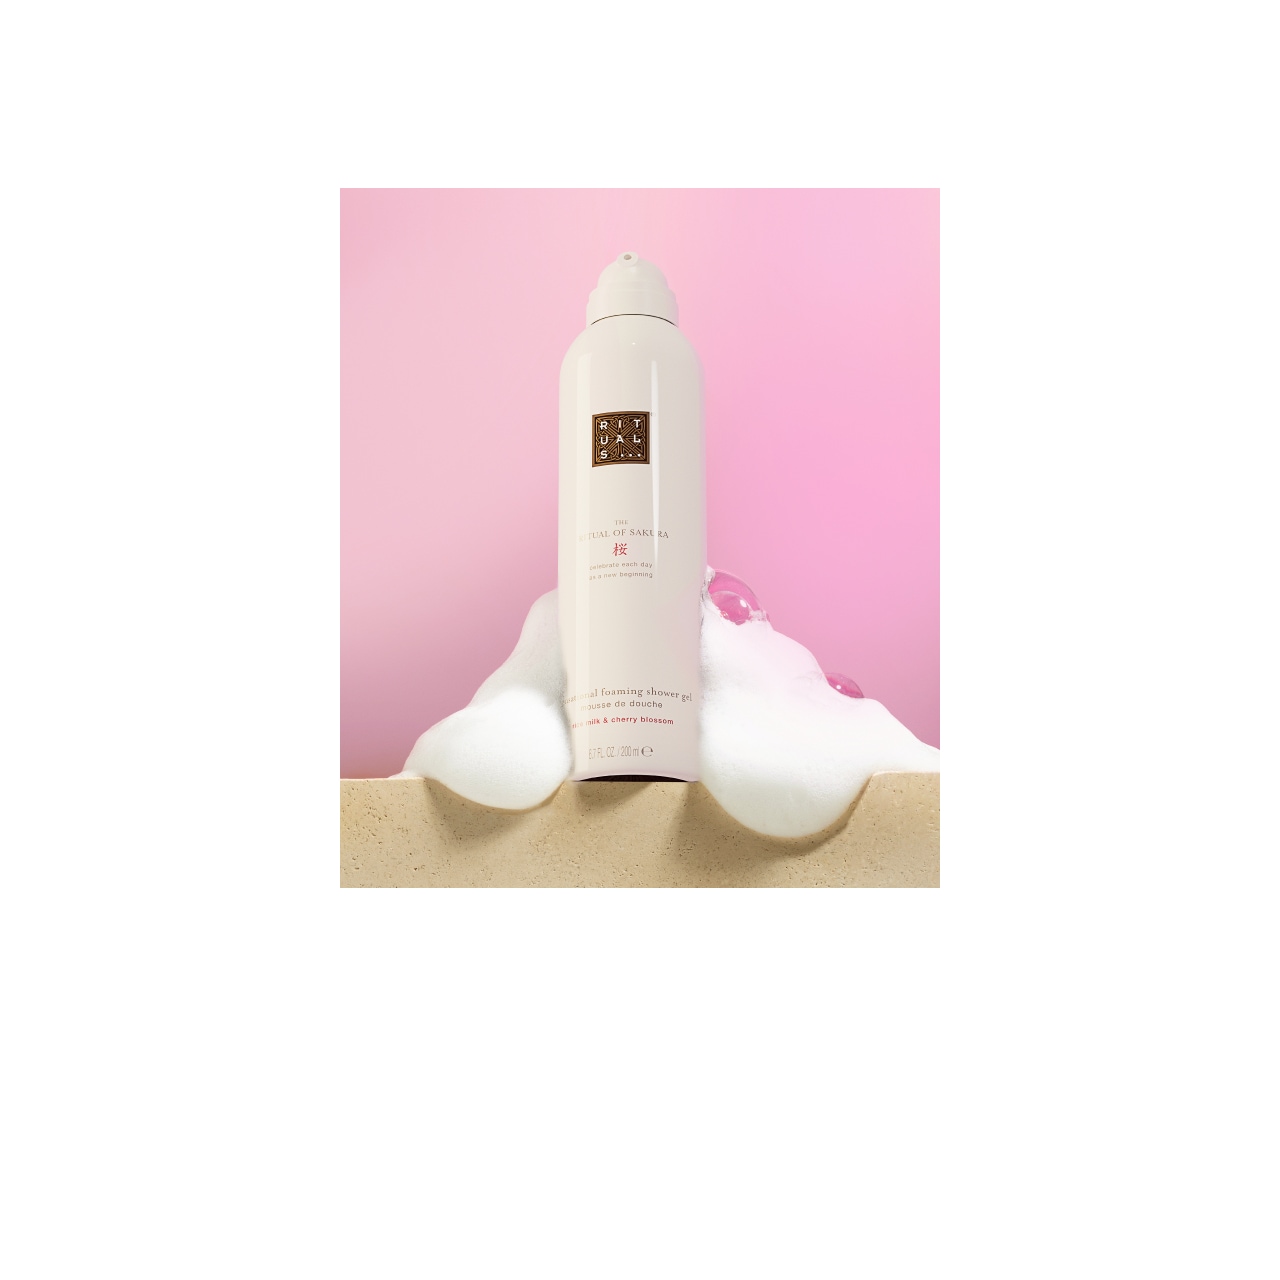
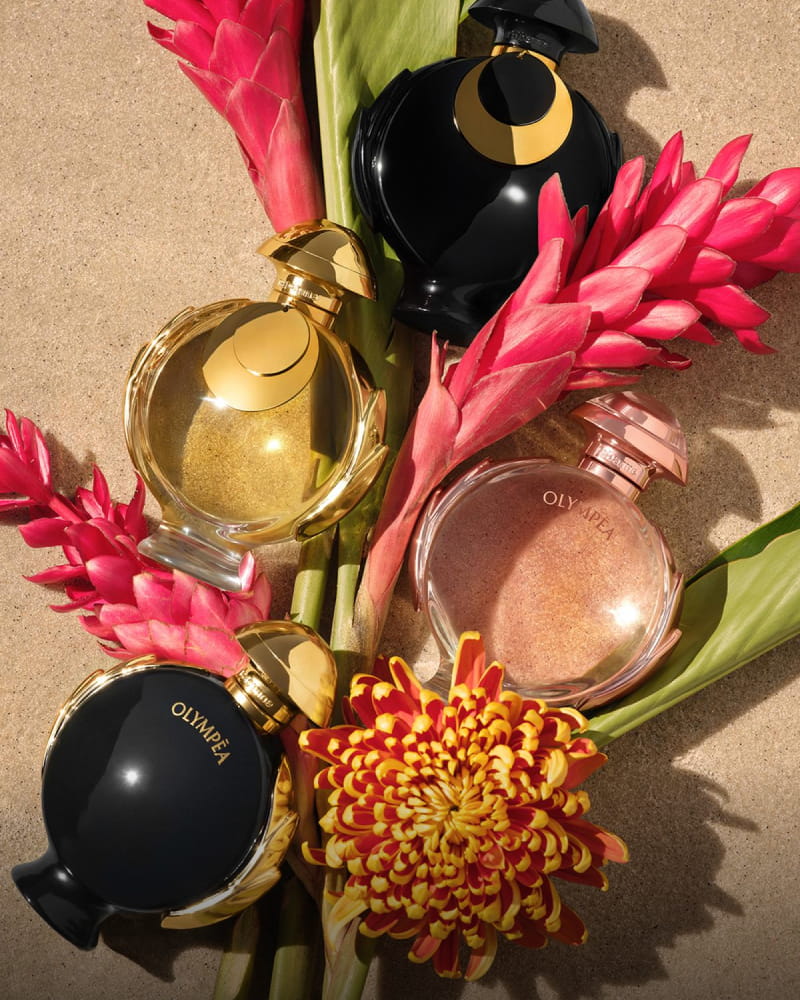
Worth £61
RRP £19.50
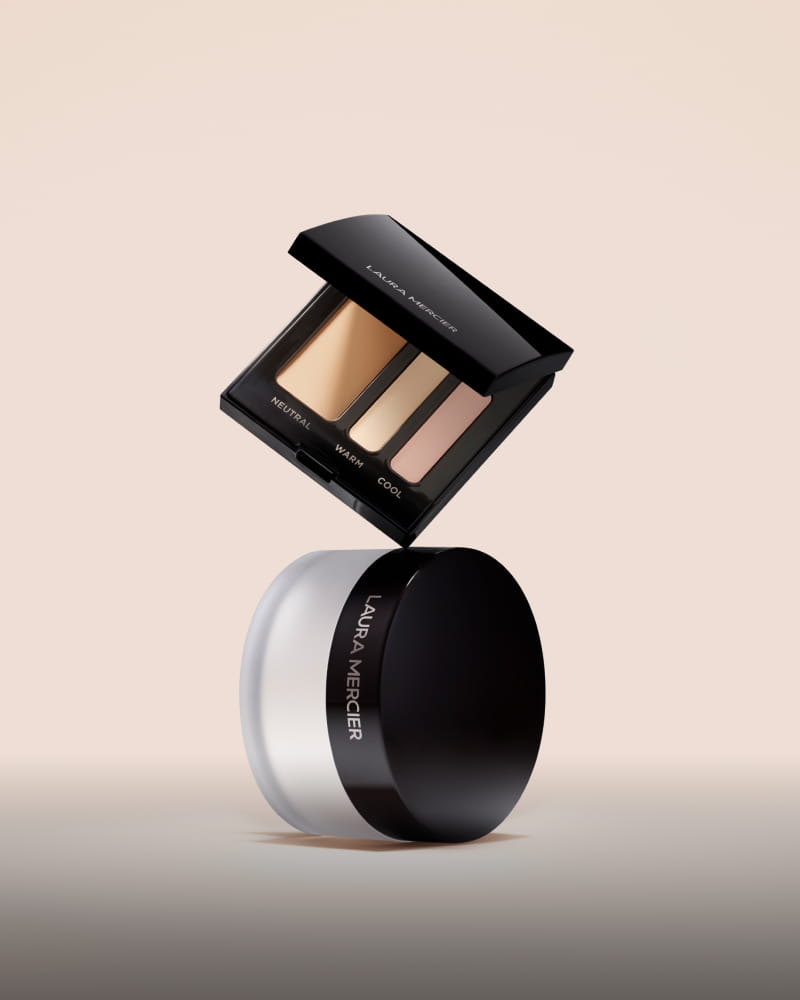
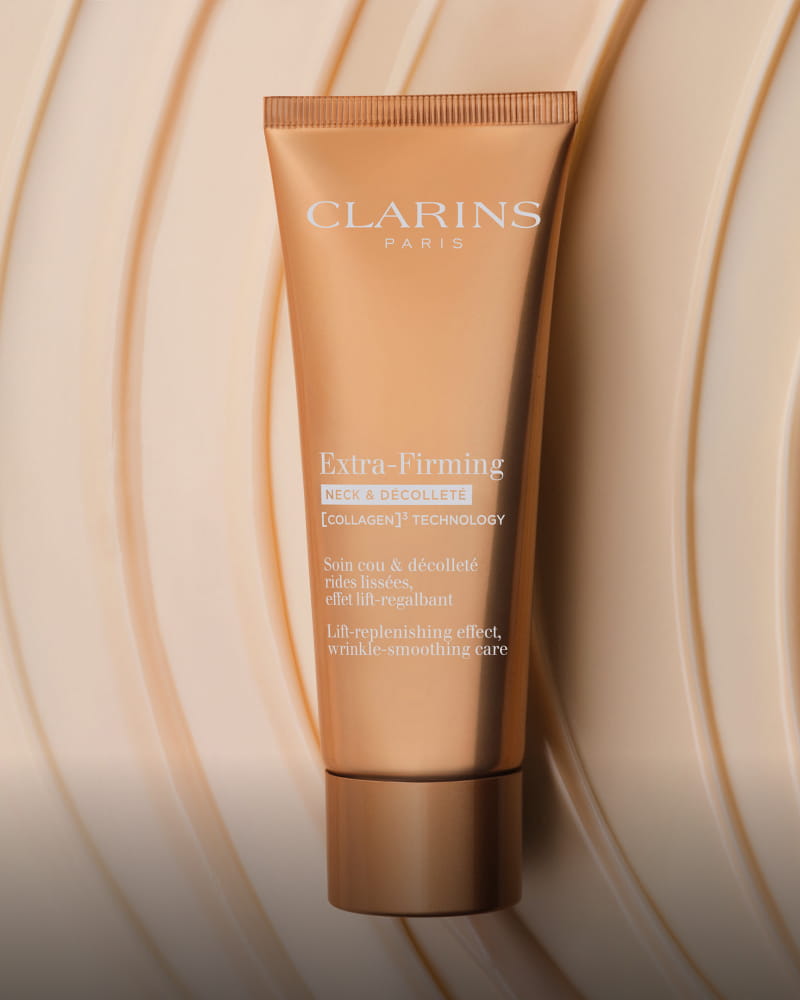
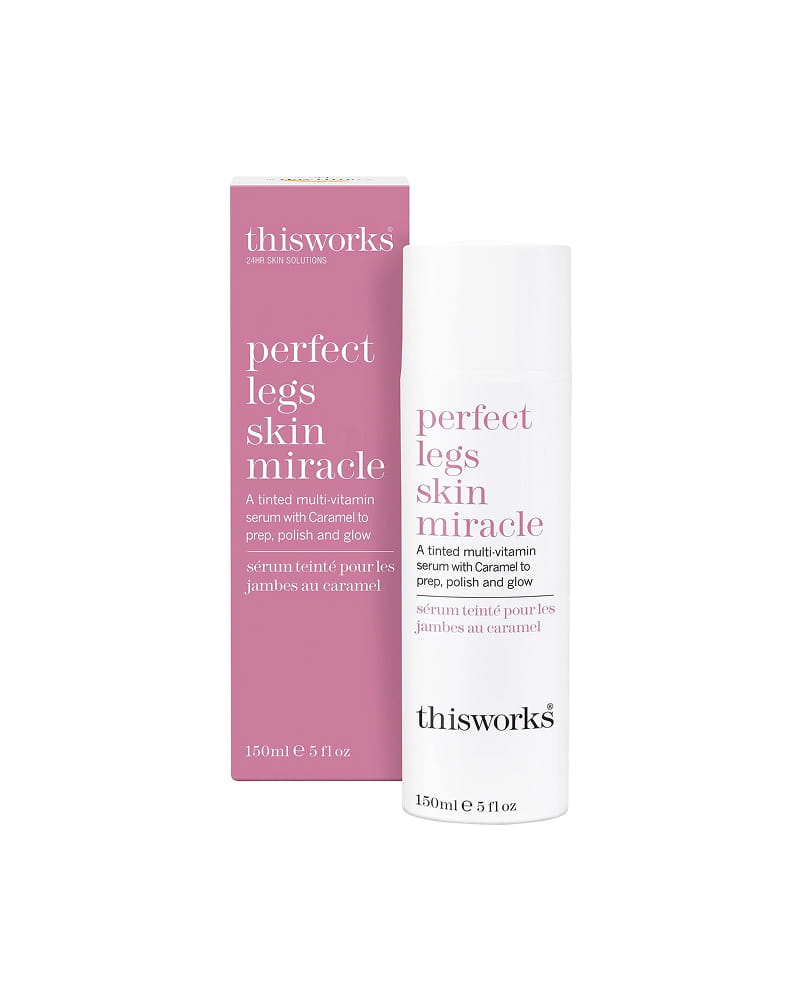
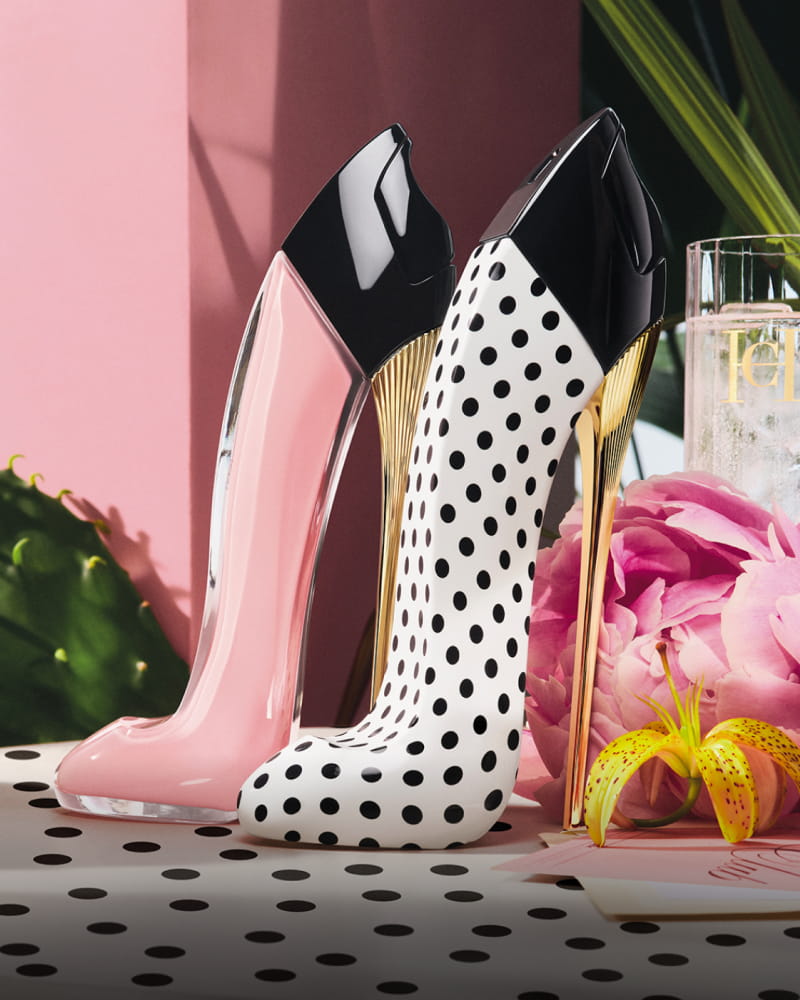
Worth Over £81
RRP £44

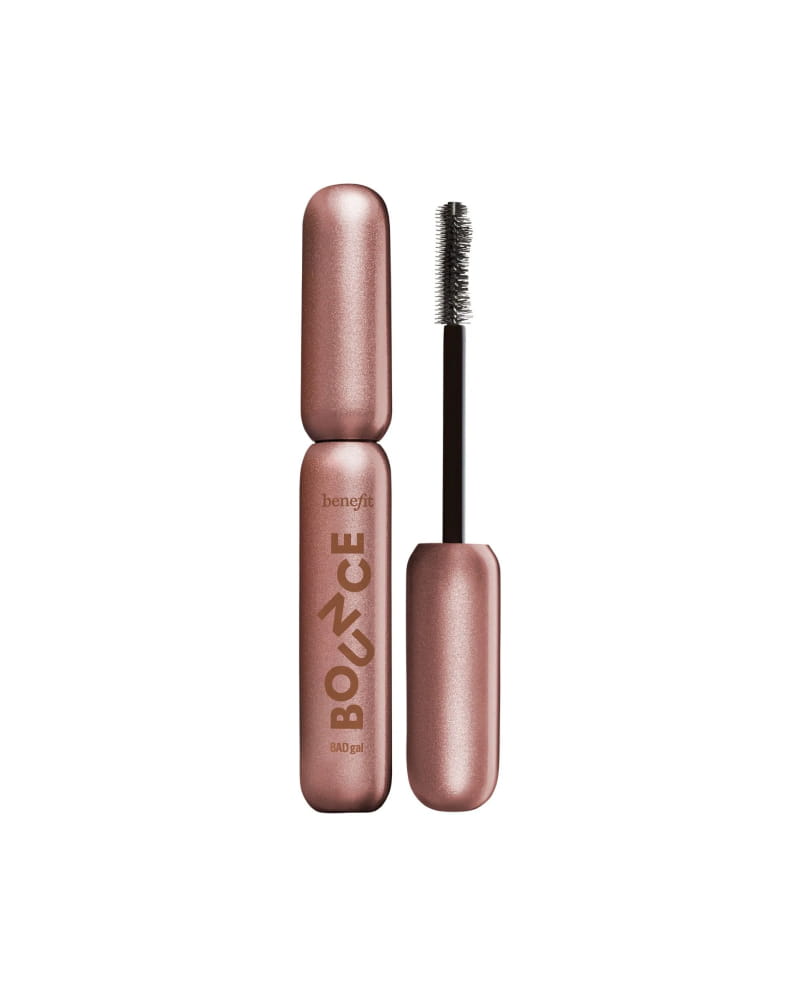
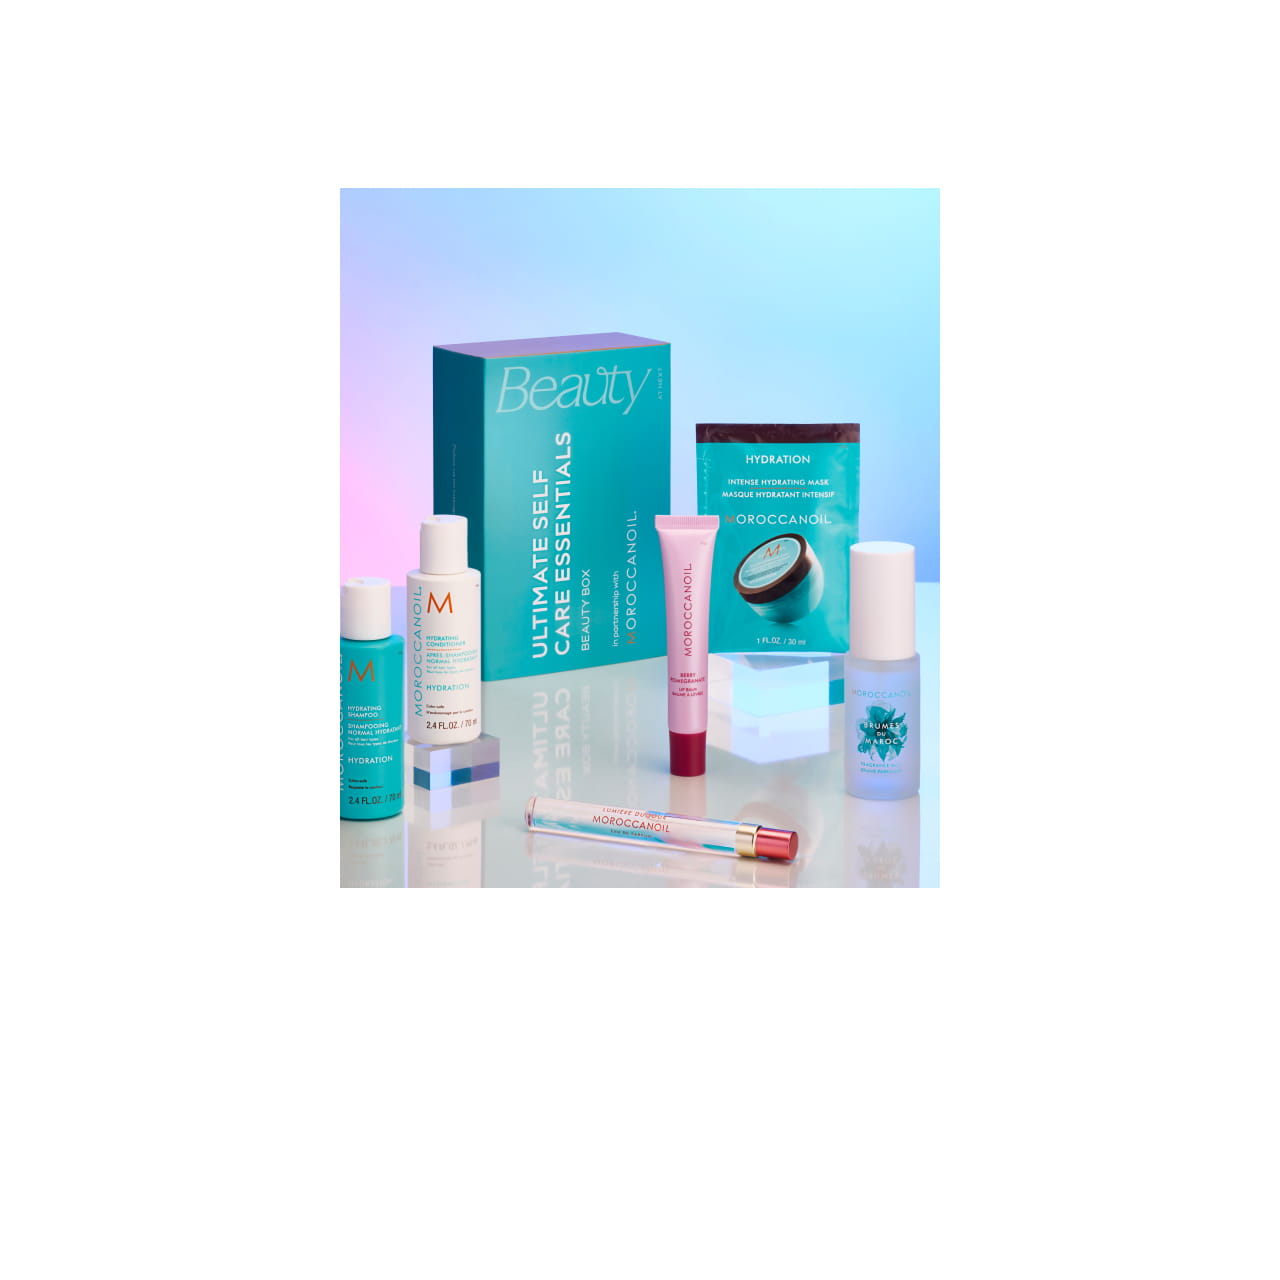
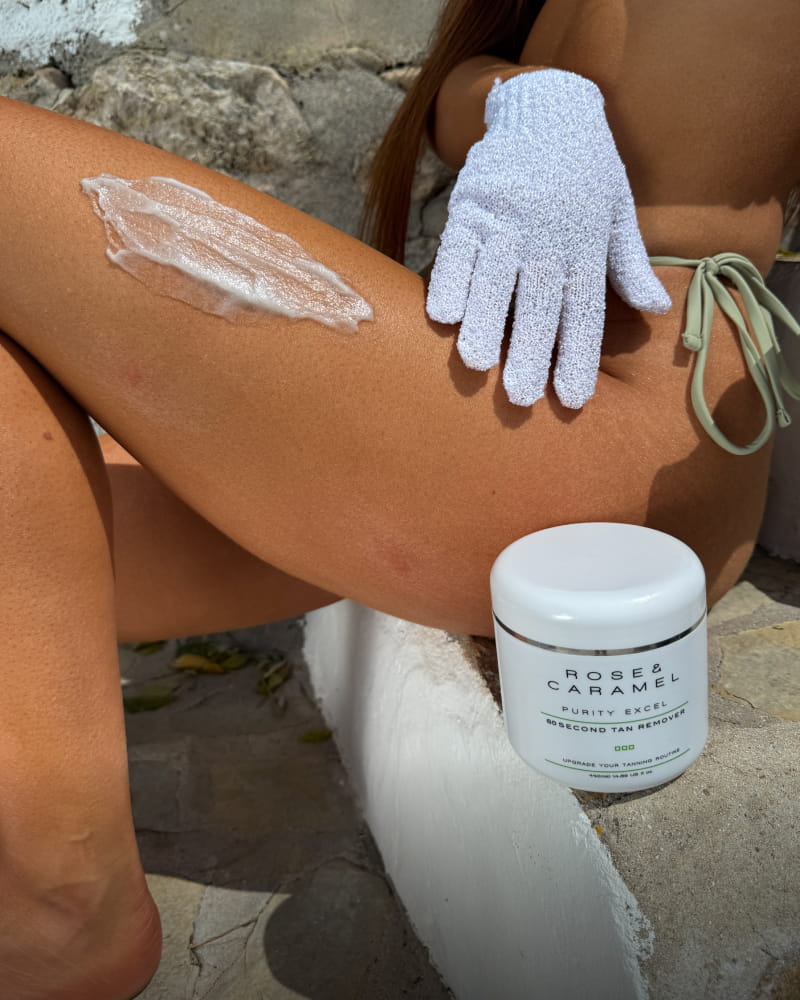
Worth Over £114
RRP £30
You have reached your limit of 0 items. Please review your Favourites List to keep this item.
Manage Favourites
Please try again
Favourites currently unavailable
Add to Favourites
Remove from Favourites
This item has been added/removed from a user's Favourites List.
Not already logged in? Sign Out
Are you sure you want to navigate away from this site?
If you navigate away from this site
you will lose your shopping bag and its contents.

There are no Recently Viewed items to show. Items will appear here as you view them. You can then select the images to revisit the items.
Oops' Something's gone wrong! Please try again


.jpg)